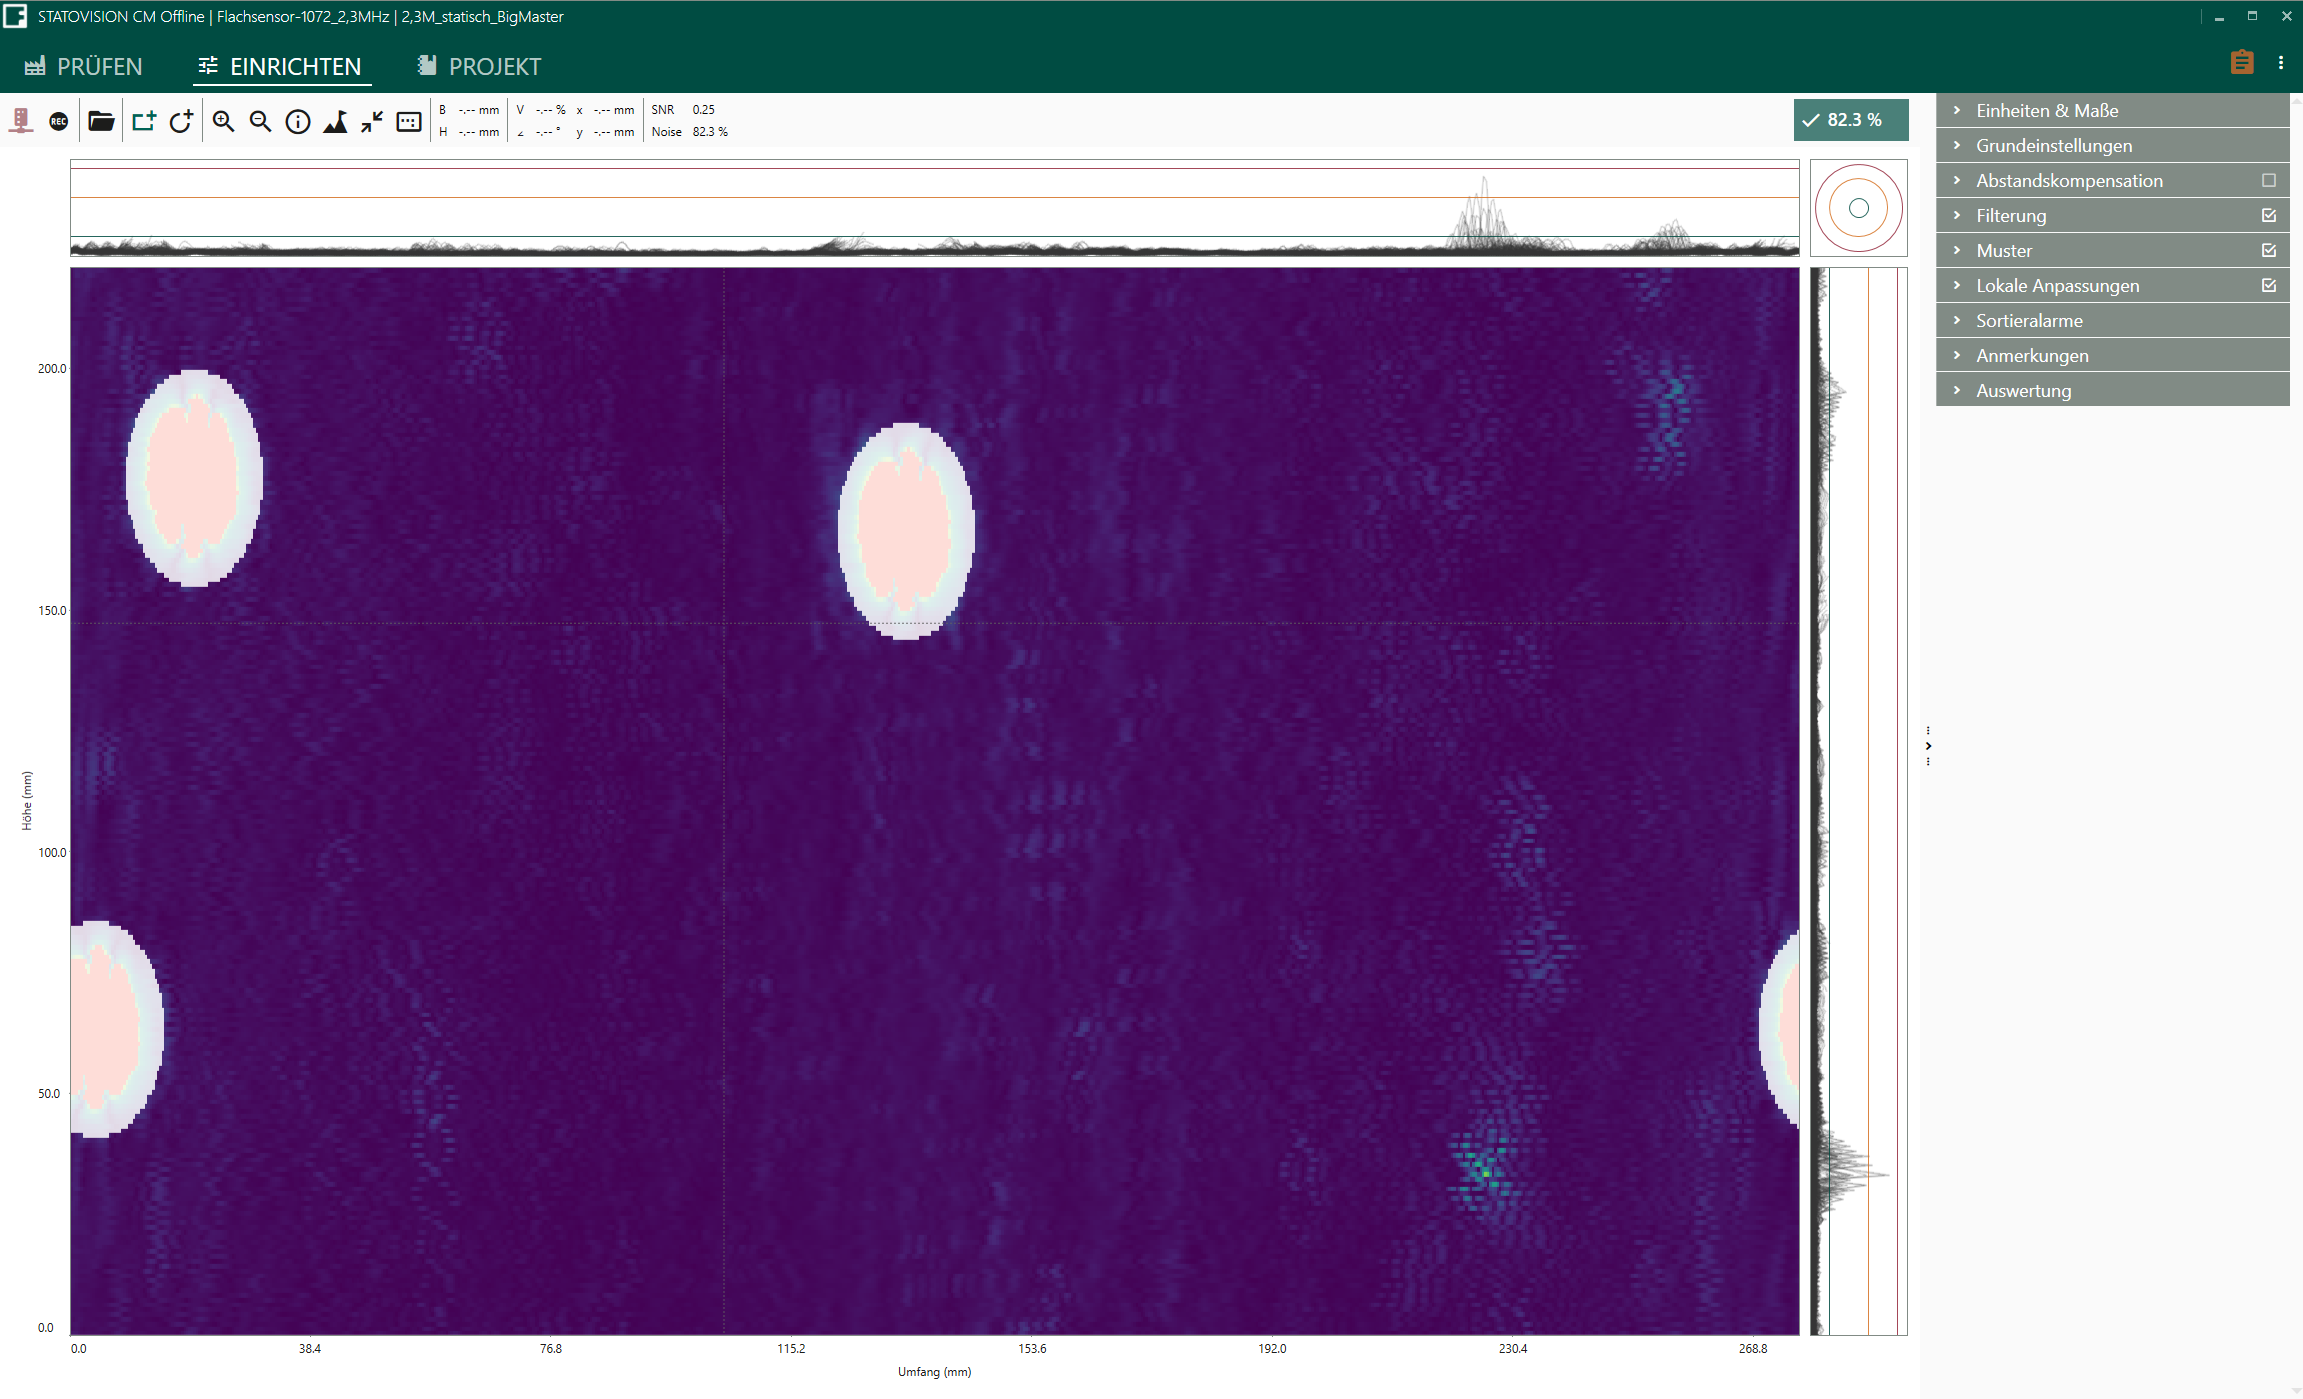
The STATOVISION software showcases eddy current signals via a clear C-scan. Afterwards, the surface quality of the tested components can be visualized.
The effective pattern recognition of the STATOVISION software fades out interfering contours such as holes or grooves. For the first time, intermediate areas or surface defects adjacent to interfering contours can be determined.
The comprehensive product documentation of the scan makes continuous quality assurance possible, while providing traceability in the event of damage and considering constantly increasing demands on the quality process.
When testing methods of surface analysis reach their limits, STATOVISION goes beyond.
Highlights
Even with interference contours, the fully automated STATOVISION software makes the testing of complex components smoother. It is non-destructive and cost-effective, and can also be used for non-ferromagnetic materials.
Besides, it filters and hides interference signals in a targeted manner, where previous areas had to remain unchecked due to interference contours, and has the potential to produce technically reliable reports on complex surfaces.
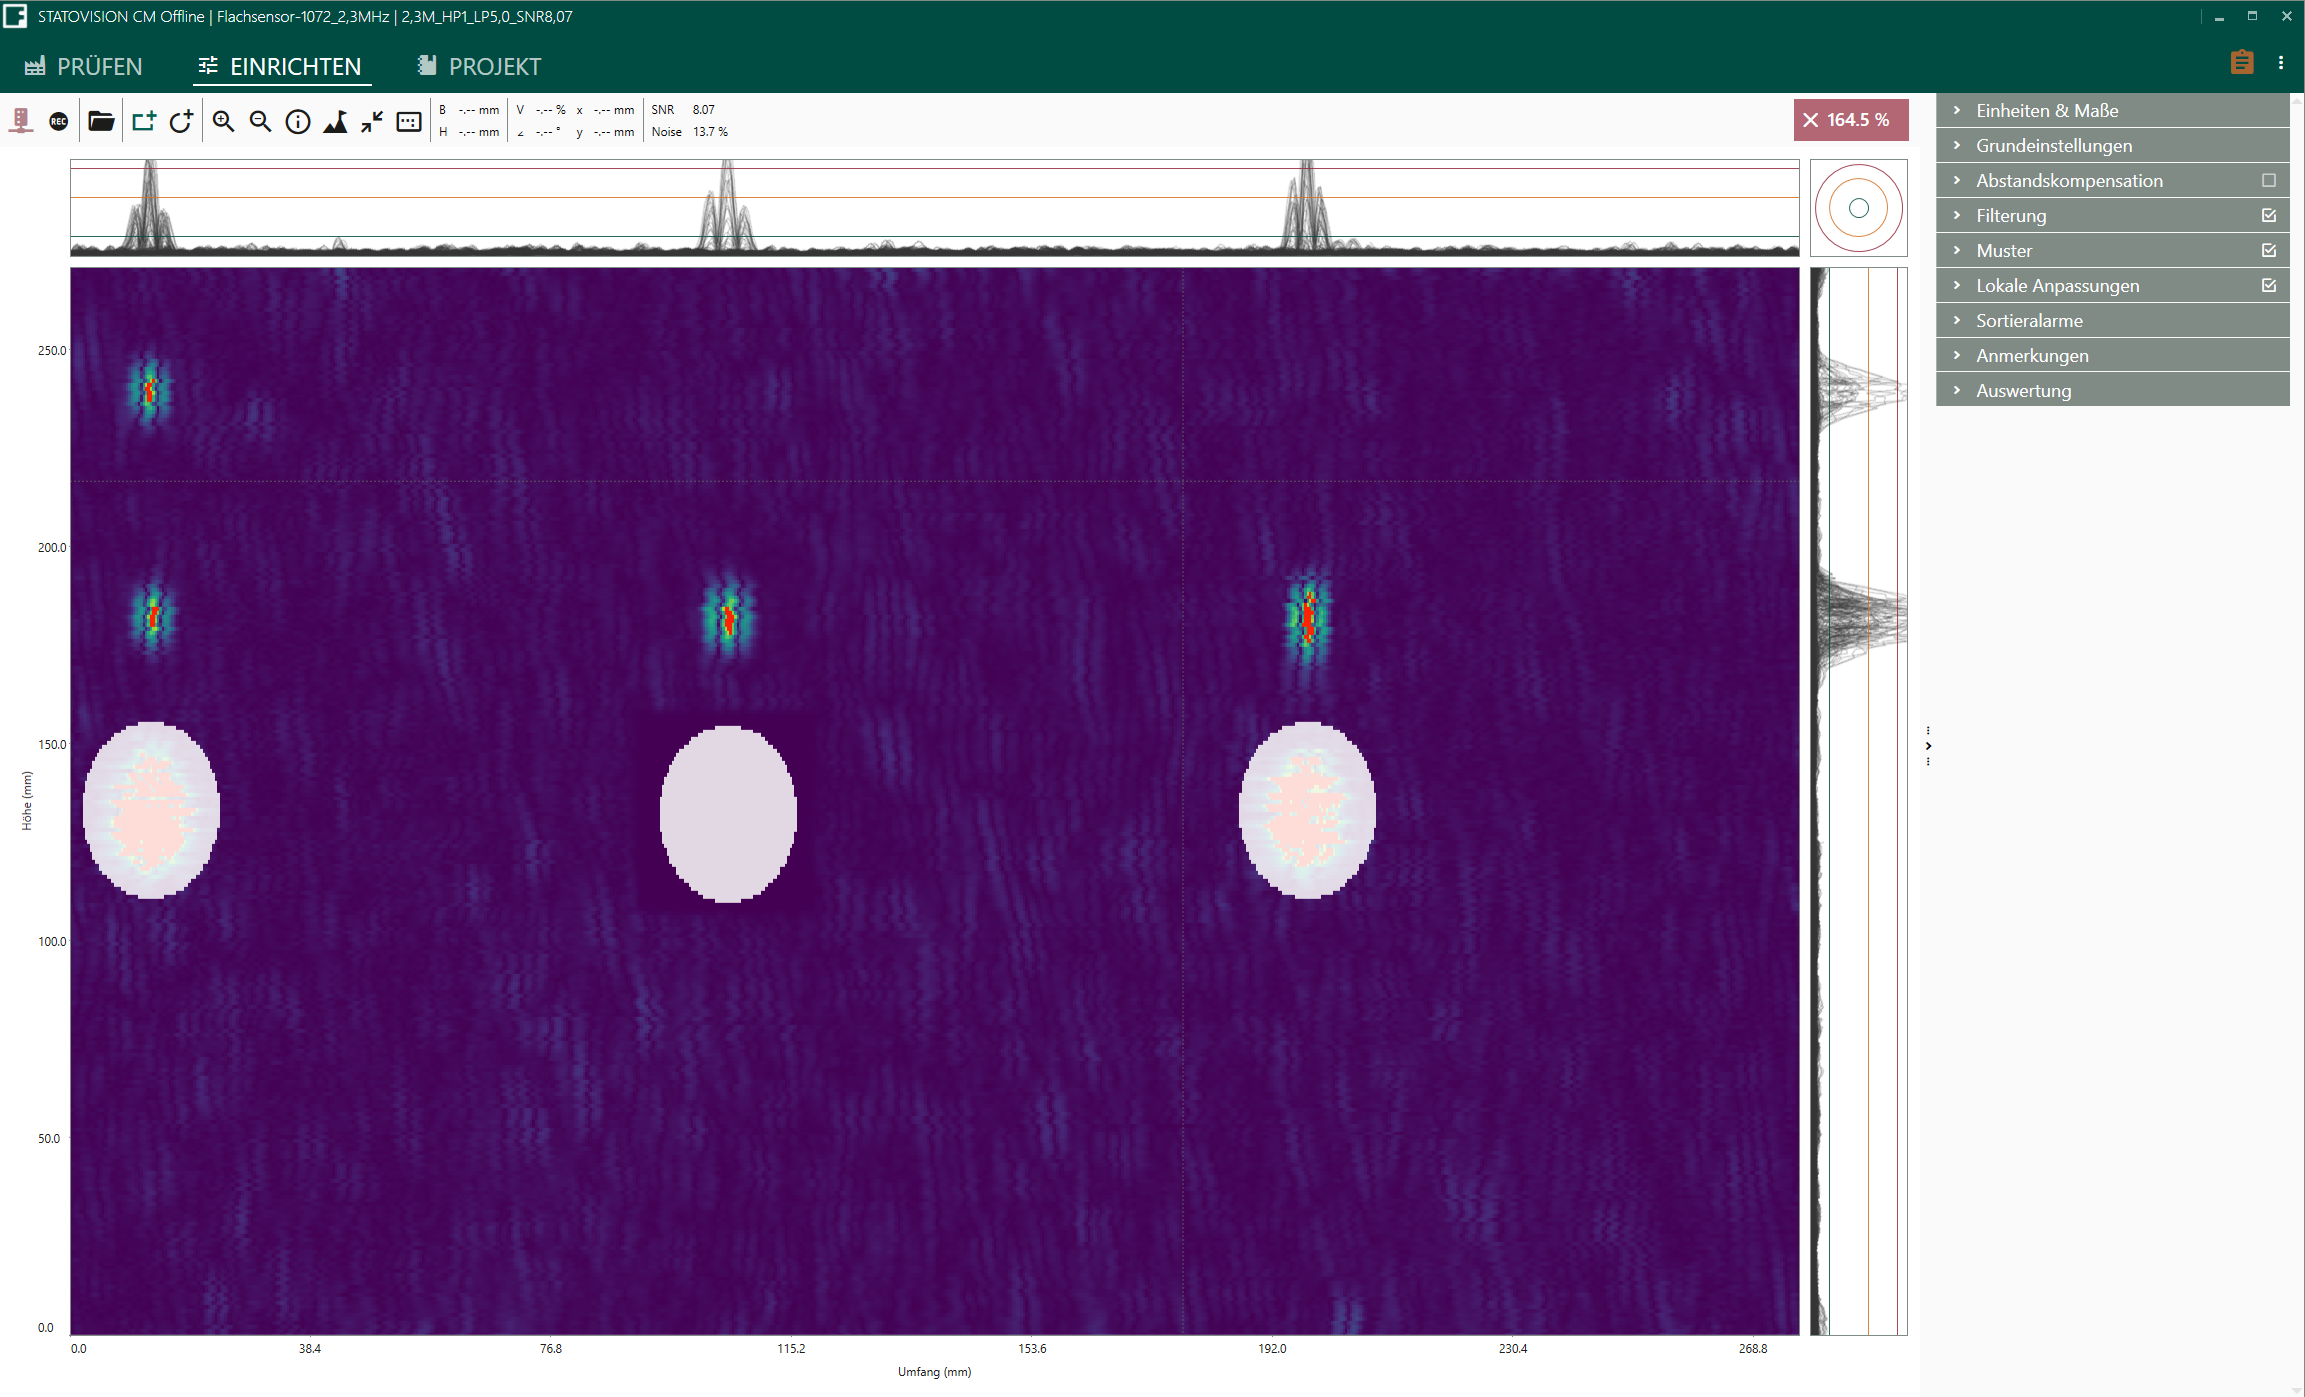
The quality of a component surface is presented via a high-resolution C-Scan. Defects can thus be localized precisely. The data is then stored to provide comprehensive statistics and complete documentation to ensure traceability to be able to guarantee this. By superimposing several filters, disturbing process influences can also be (e.g. tool wear) are detected at an early stage and be corrected in order to avoid a too high reject rate and to avoid.
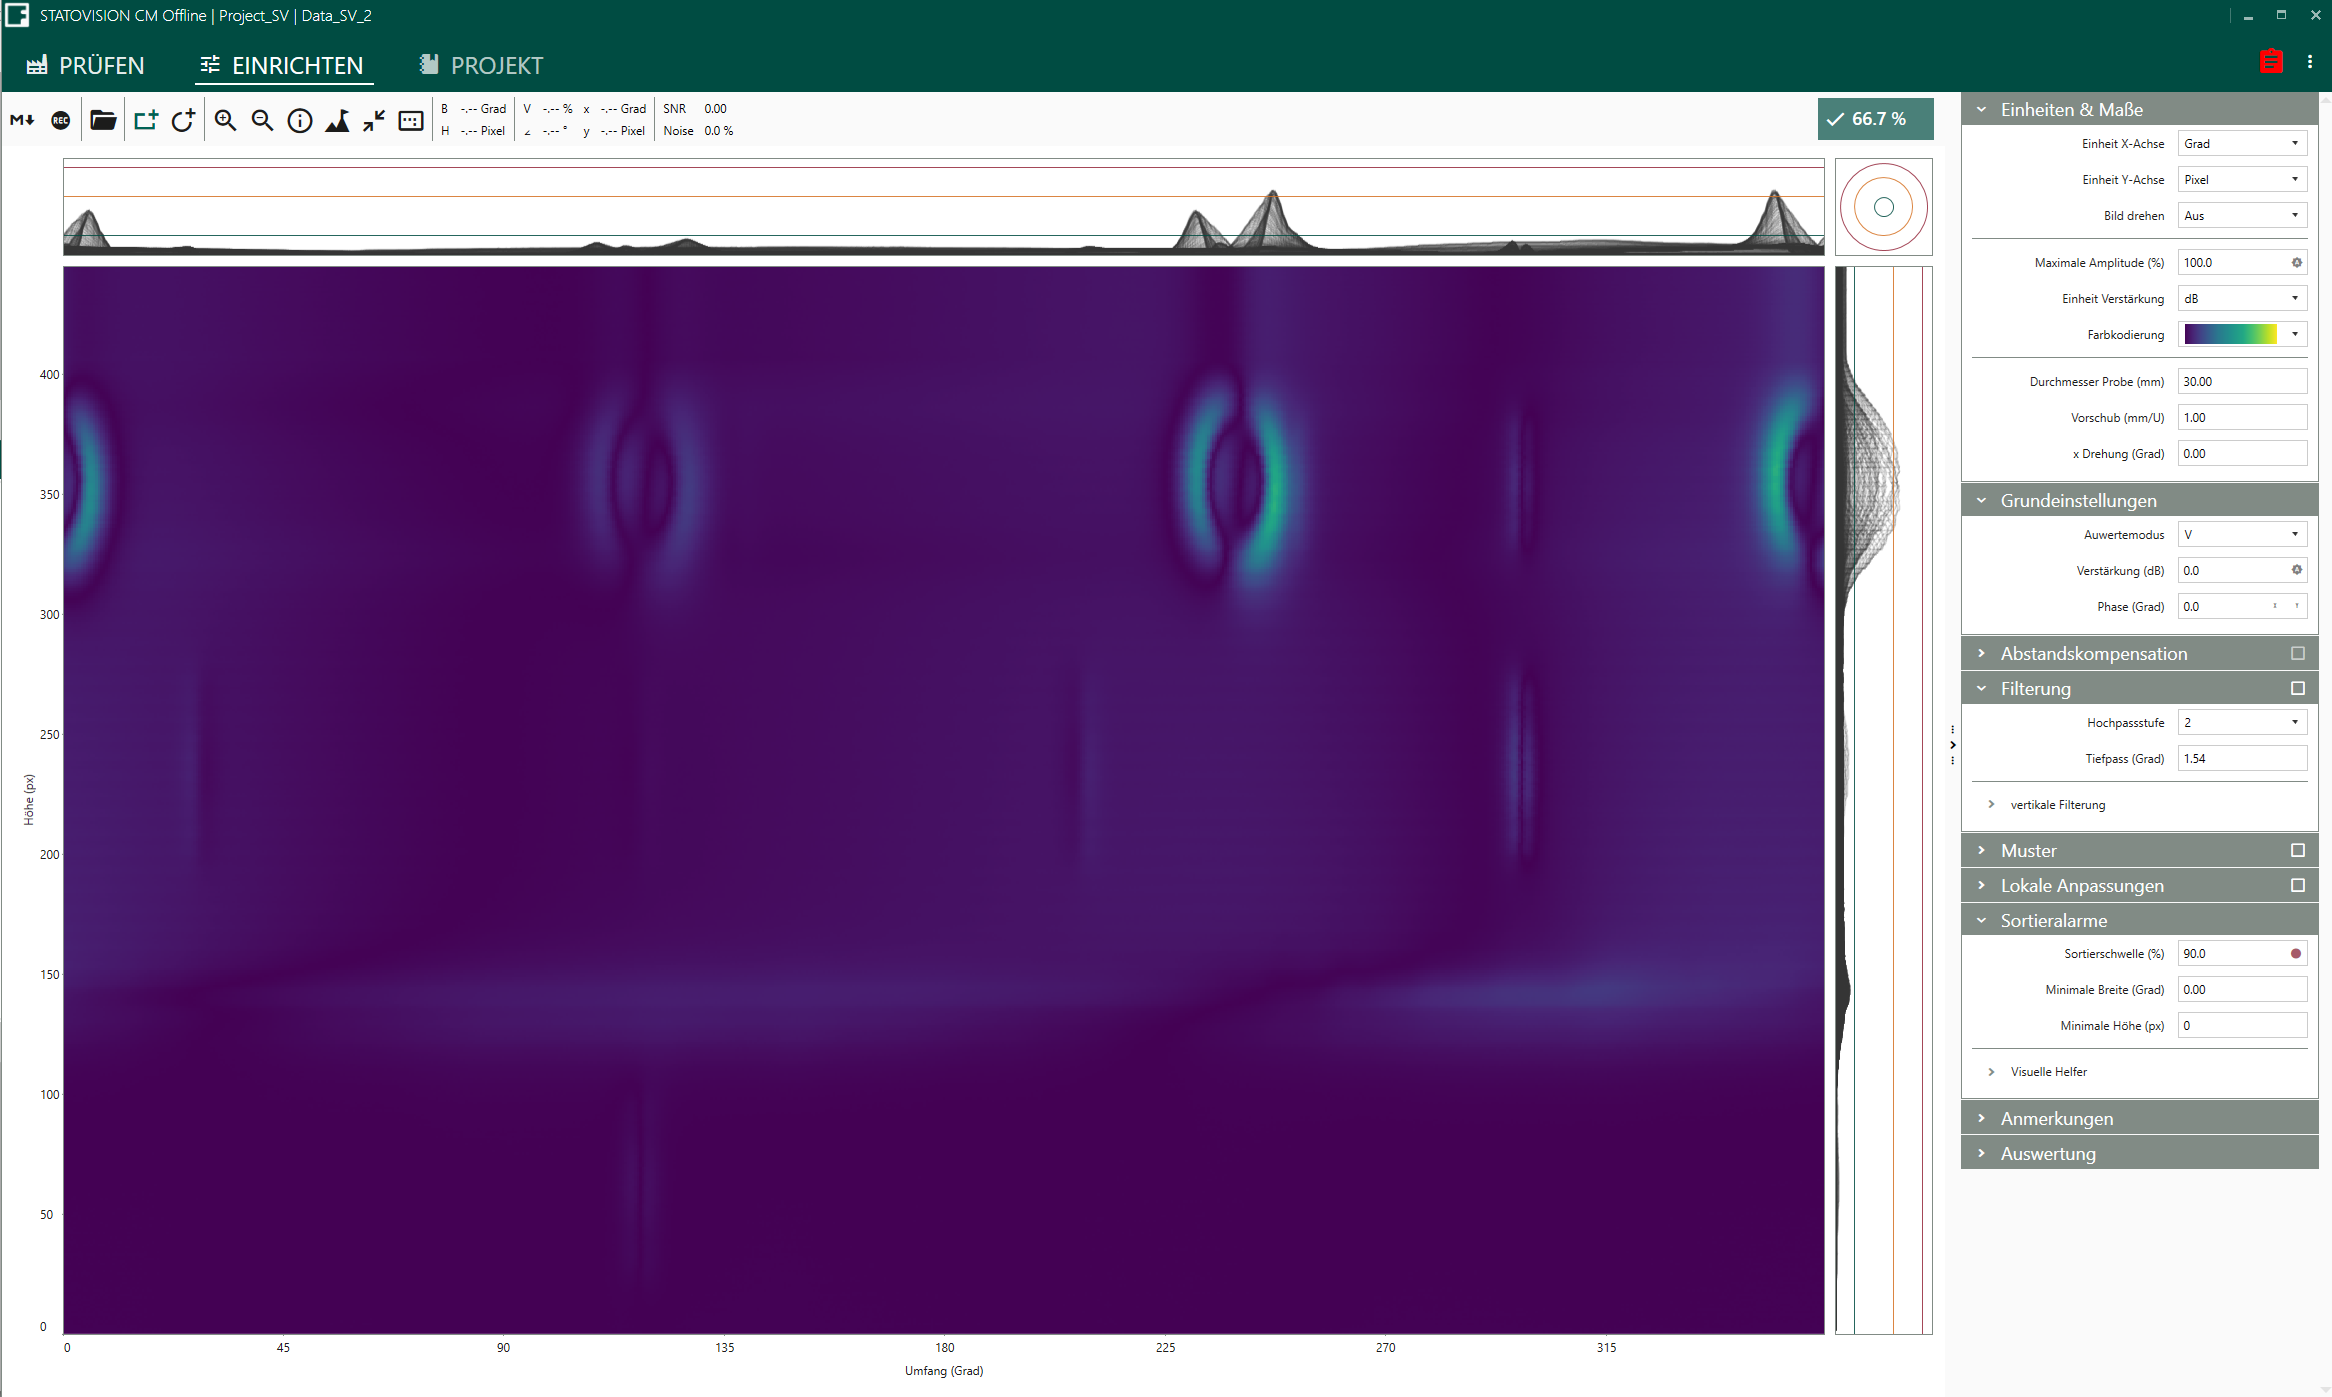
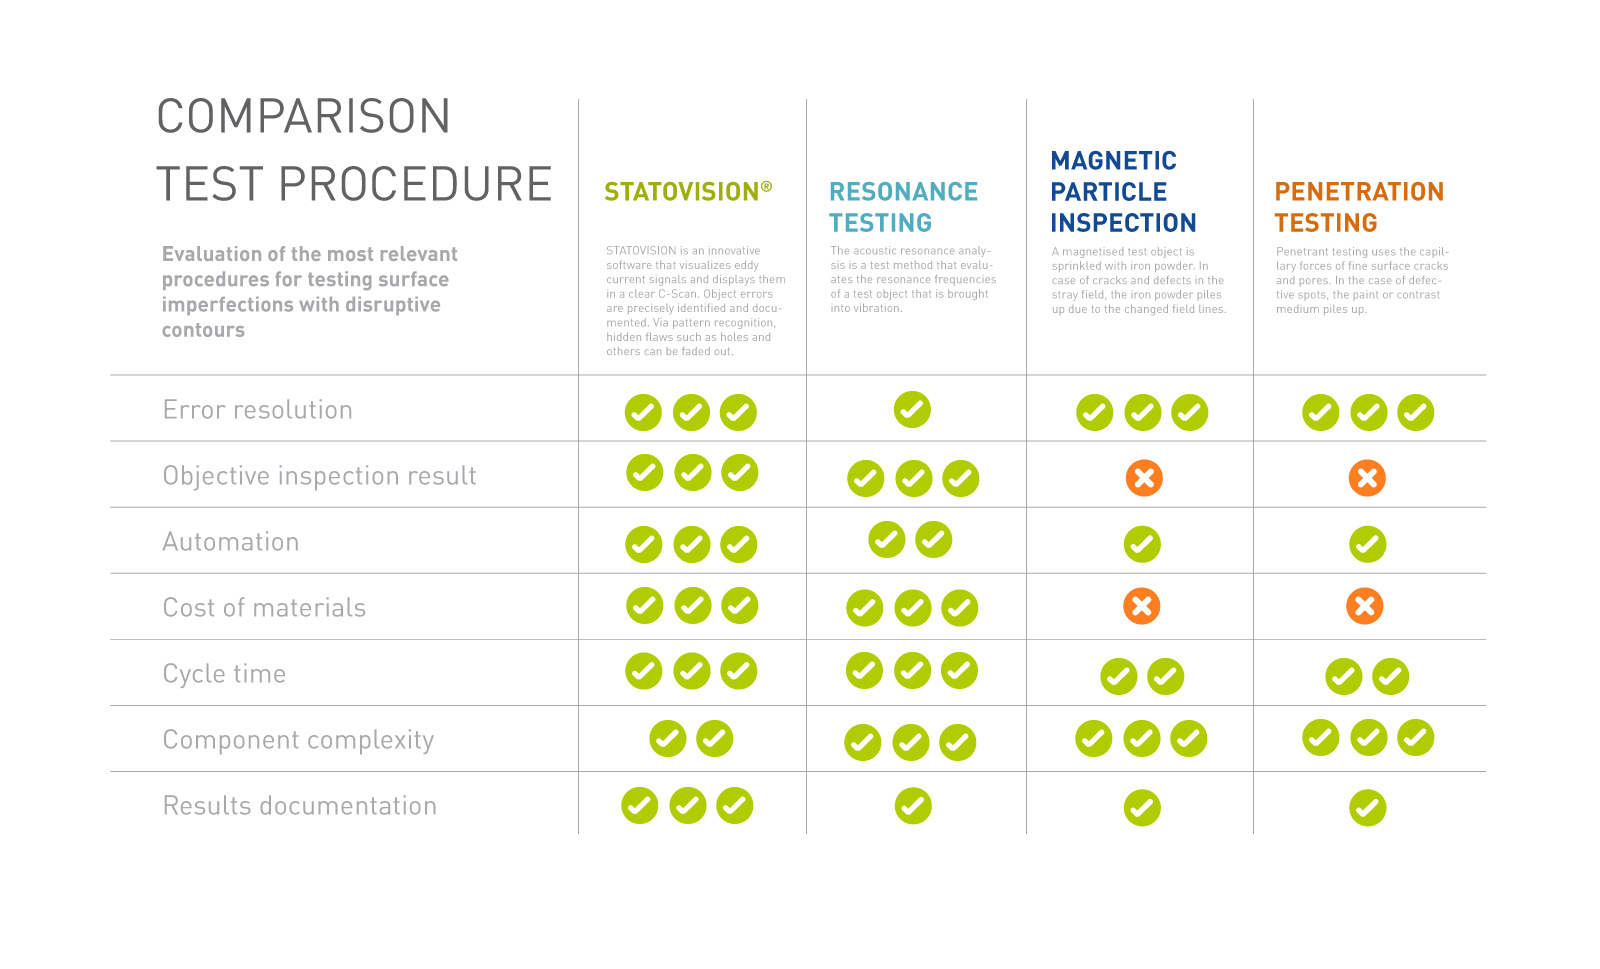
Many symptoms of the grinding fire, such as tensions, structural changes or hardening caused by the process mechanically or thermally, cannot be detected visually in most cases. Commonly, cracks easily appear on the surfaces at the time of operation.
Current processes require an automatable, effective and efficient alternative. In addition, it should be objective when it comes to interpreting the results, and applied completely non-destructively. Furthermore, a comprehensive documentation option is becoming increasingly relevant.
STATOVISION meets these requirements. It is also possible to carry out an analysis of the data after the test by means of filter settings, which makes malfunctions in the process visible. Process tracing and control is made considerably easier.
The highest mechanical and thermal requirements are placed on safety-relevant components such as brake discs. Quality assurance must not only be automated and fully documented. It is essential that surfaces are thoroughly inspected over the entire surface, especially in areas adjacent to interfering contours.
With STATOVISION, boreholes can be specifically defined and automatically faded out. During the inspection, only surface defects in the defined format are detected and their position is visualized via eddy current signals. Conversely, grooves or chamfers can be specifically included in the surface analysis.
The STATOVISION software provides the production facility with a clear traceability and thus control. Raw data and reports can be transferred to the quality control system. With the help of a complete documentation of parts and location of the individual defects, test components can be reworked in a comprehensible, visual form. With one picture per inspected piece, a 100% documentation of the surface quality is generated. This feedback can be applied to the production process itself and enables the detection of tool wear via eddy current images.
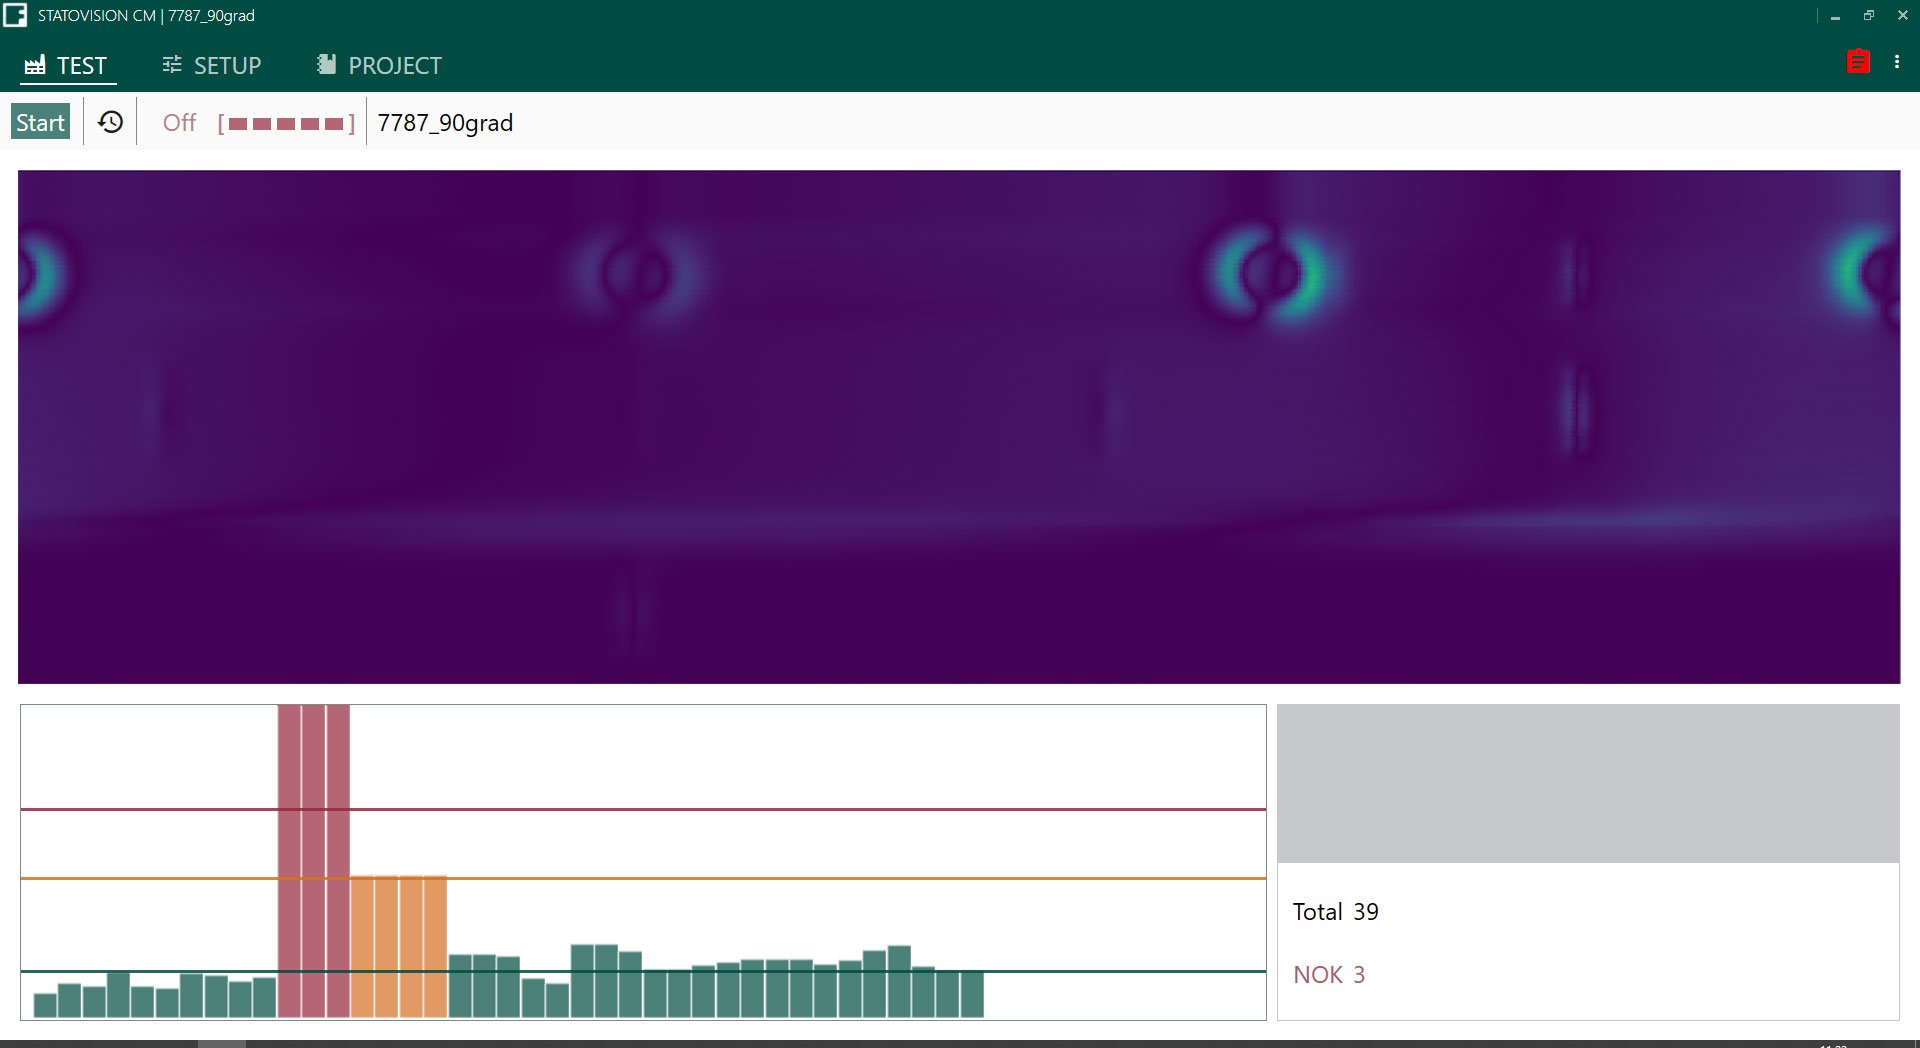
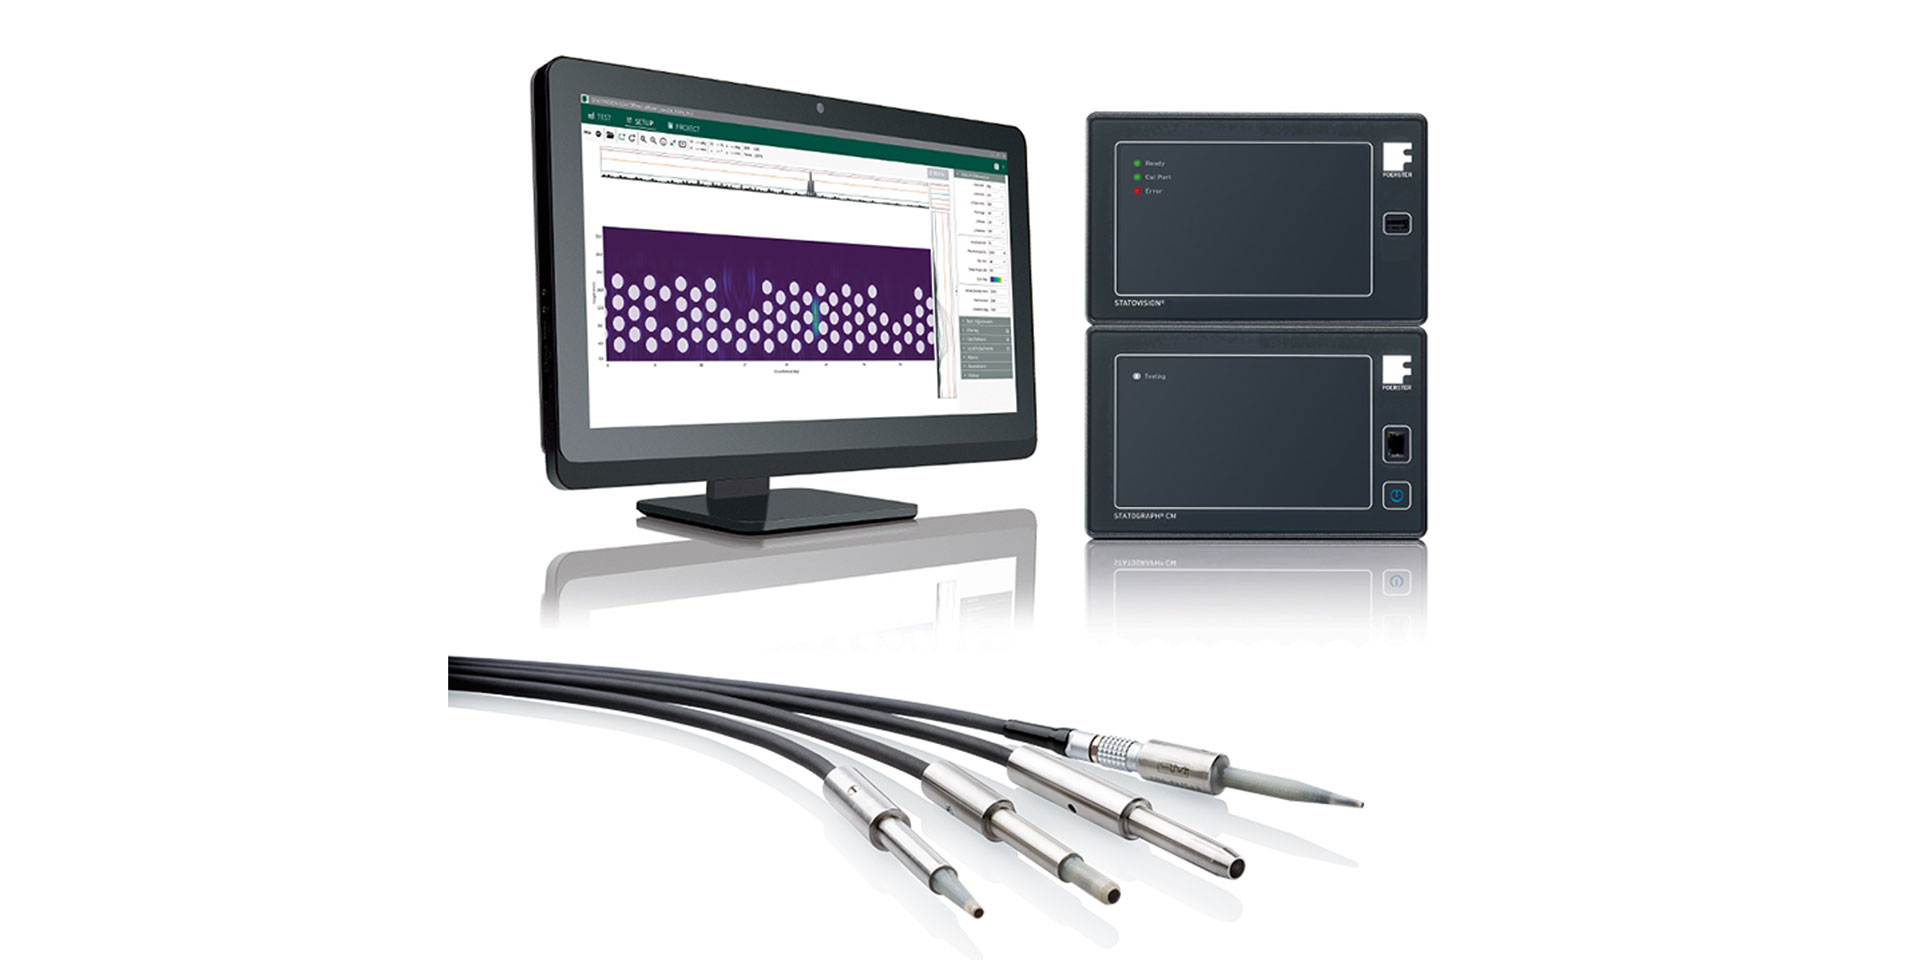
Besides crack detection, STATOVISION can also be connected to test systems with additional functions, e.g. the display of magnetic remanences. Thus, the range of applications can be extended by further functionalities to optimize the production process.

Defects can be clearly assigned to the position on the test part.
Easy integration in control systems thanks to Industrial Ethernet connection.
Easier setup of the basic configuration, including the control type or encoder.
Software functions such as filters and blanking functions can be recorded including distance compensation.
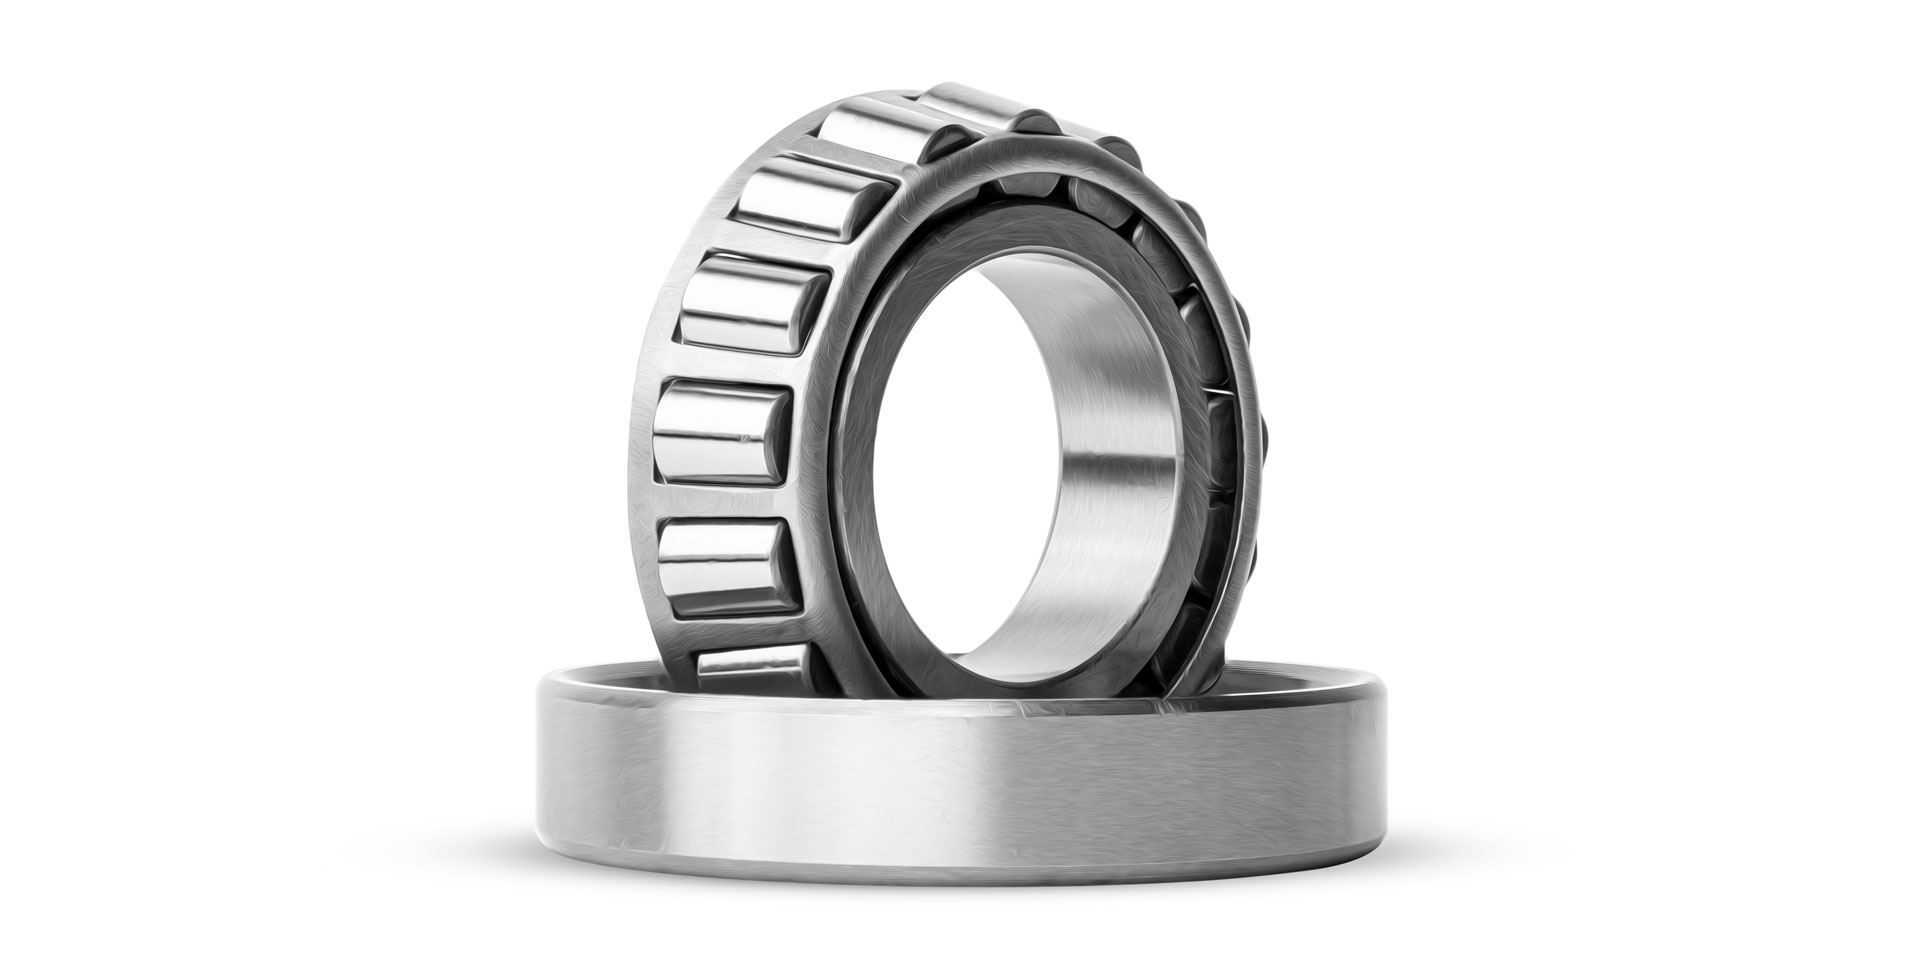
Even large surfaces such as rolling bearings can be detected. Images with up to 44 megapixels are possible.
Defining the number of interfering contours to be blanked out provides a warning in case of deviations after similarity threshold testing.
The evaluation provides correct results even at irregular test speeds.
The test configuration of the STATOVISION is transparent, safe and easy to document and also takes over the configuration when connecting the test device STATOGRAPH CM.
STATOVISION creates reports as required in PDF, PNG or CSV formats.
Robert Augner
Non-destructive testing methods
Daimler AG
Jens Geiger
Executive Director N-DECT
140 Industry Dr,
Pittsburgh PA,
15275